Installing and Updating Google Drive for Mac
Installing/Updating Google Drive
Google is working towards, “unifying our two existing Google Drive sync clients – Backup and Sync and Drive File Stream – into a single sync client called Drive for desktop.”. This includes all Loyola University computers that are running Backup and Sync. To ensure that your computer will continue to properly back up your files, all users must manually update Backup and Sync to Google Drive. Please follow the instructions listed below to complete the transition.
- Starting July 19, 2021: Backup and Sync will support a guided flow to help users transition onto Drive for desktop.
- Starting August 18, 2021: Any users still on Backup and Sync will start to receive in-product notifications prompting them to transition to Drive for desktop.
- Starting October 1, 2021: Any users still on Backup and Sync after that point will no longer be able to sign in to Backup and Sync. To continue syncing with Drive and/or Google Photos, users will need to transition to Drive for desktop.
1. Visit, https://www.google.com/drive/

2. Navigate to the area where the file was saved. The files are normally saved in the "Downloads" folder of your computer. The file will be named, "GoogleDrive.dmg". Once you have located the file, double click on it to initiate the installation of Google Drive.
3. Once you have double clicked on "GoogleDrive.dmg", you will be prompted to install Google Drive. Click "Continue". Click "install" when prompted.


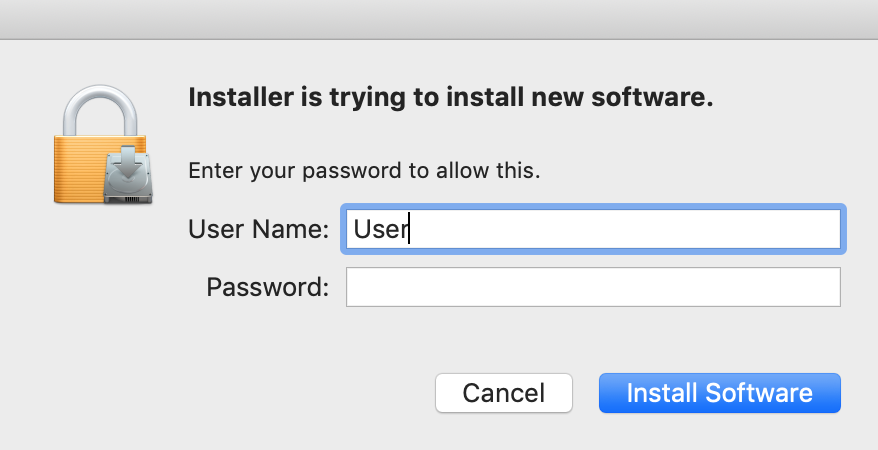
4. You will need to authenticate the installer using the administrator password of your computer.
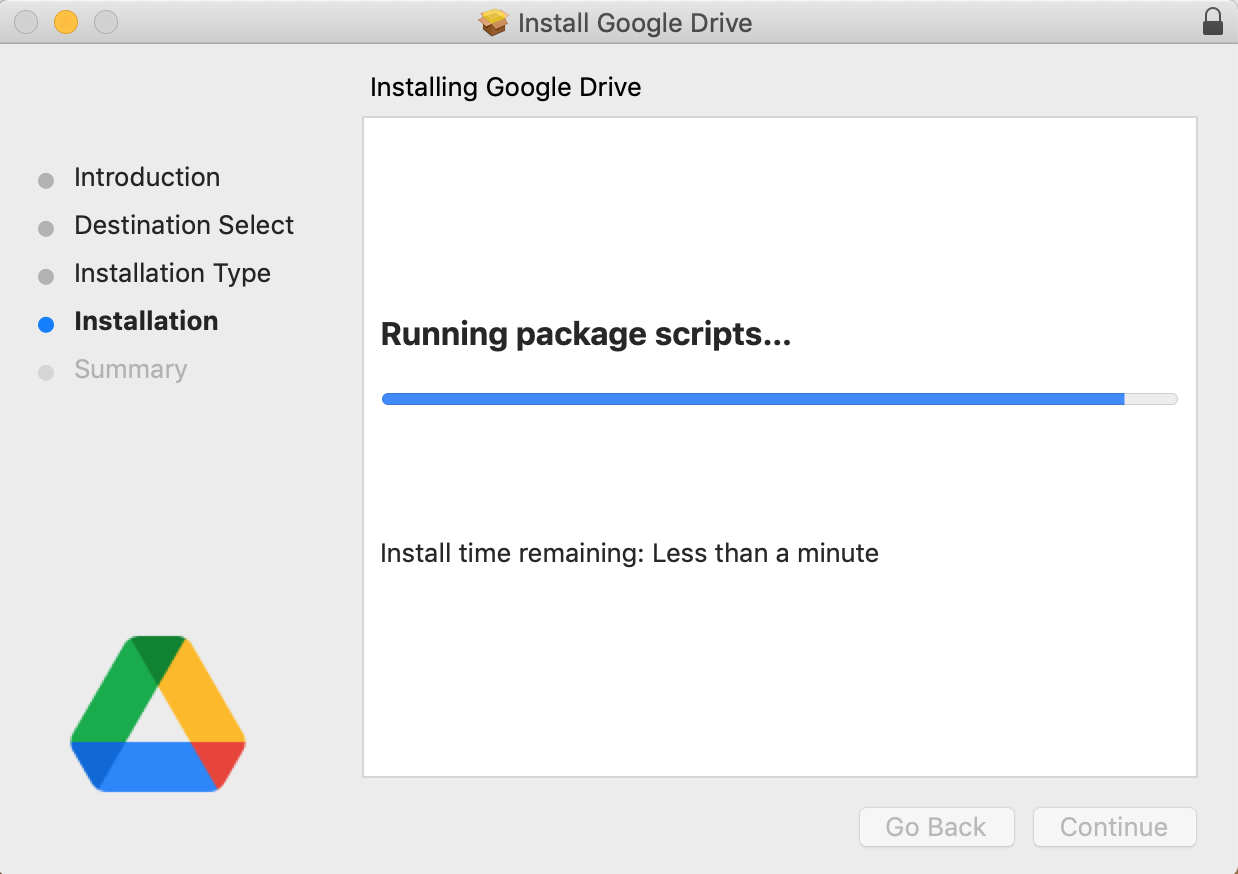
5. Google Drive will begin to install and you will be notified when it is successful.

6. Now that Google Drive has finished installing, you will be asked for approval to load your files. Click on "Open Security & Privacy Settings" to open the required window. If you do not see the window in the first image below, you may see the window "System Extension Blocked", as shown in the second image below. From either screen, click "Open Security Preferences".


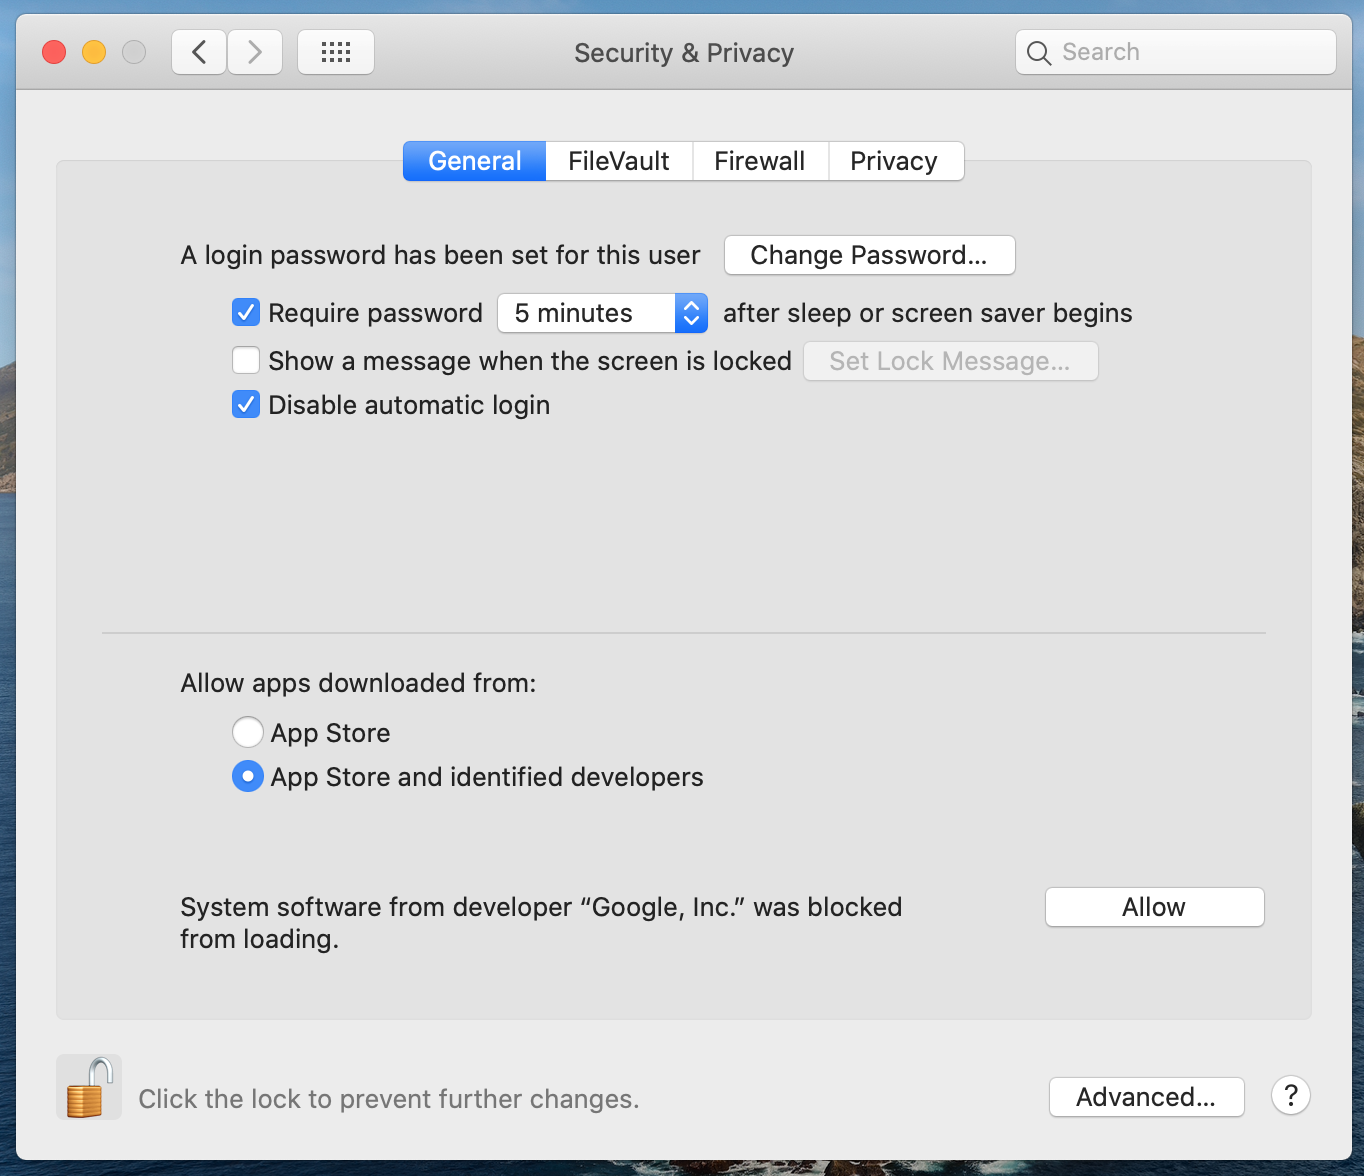
7. Once you have reached the "Security and Privacy" window, as shown below, click on the Padlock icon at the bottom left corner of the window. This will allow you to make changes.

8. You will then be asked to enter your password. Then click the "Unlock" button.

9. At the bottom of the window, you will see text that reads "System software from developer "Google, Inc." was blocked from loading". Click "Allow" to give Google Drive access.
10. After you have closed the "Installation was successful" screen, you will be asked to send the installer file to the trash. Click "Move to Trash". The file is no longer needed.

11. Google Drive should automatically open, but if not, you can find Google Drive in the "Applications" folder. From the desktop, click "Go" at the top then click "Applications".

12. Once Google Drive is opened, click on "Sign in with browser".

13. Your default internet browser will open. Select your Loyola University account, and login.

14. Google Drive will ask if you are sure that you have downloaded the installer from the Google website. The installer was downloaded from Google, so click "Sign-in" to confirm.

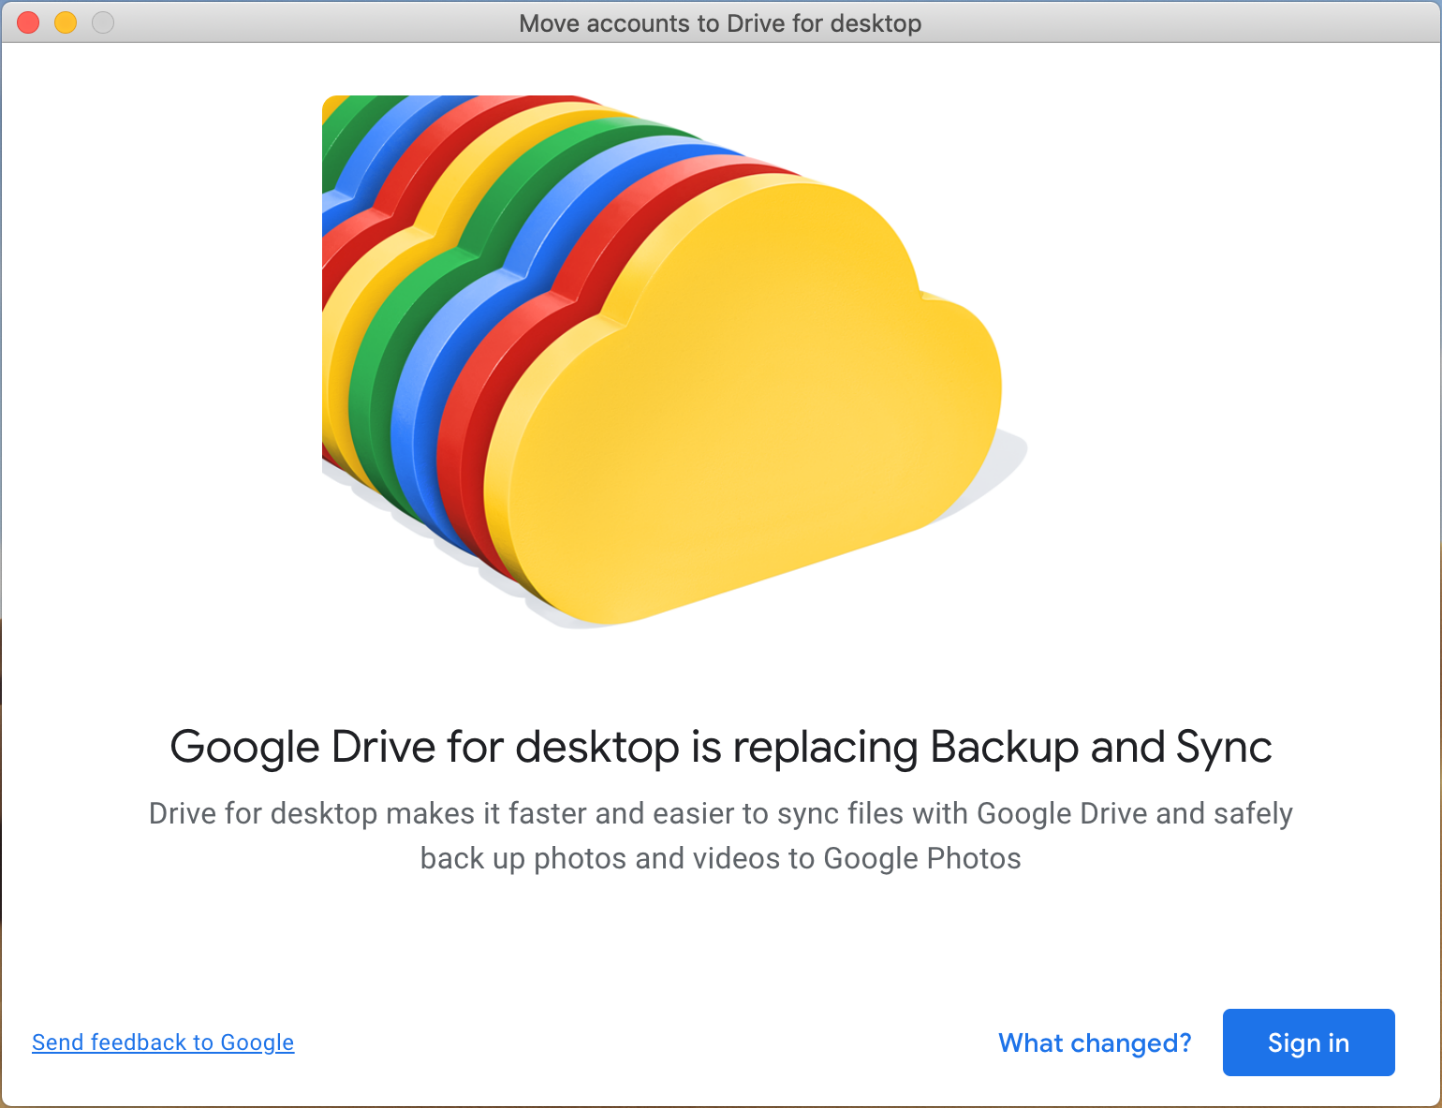
15. Google Drive needs to replace Backup and Sync. Click "Sign-in" to proceed with the setup.
16. Select your Loyola University account to sign-in and proceed.

17. Google Drive will ask to gain access to your photos, so that it can back them up. Click "OK".

18. The next window will read, "Let's check your folders from Backup and Sync". Click "Check folders".

19. Google Drive will need permissions to the other folders being synced. Click "Give access" next to each folder that requires access.


20. Once you have given access to each folder, Google Drive will begin to assess the folders currently synced by Backup and Sync. Wait until the scan has finished. This will take a few minutes.
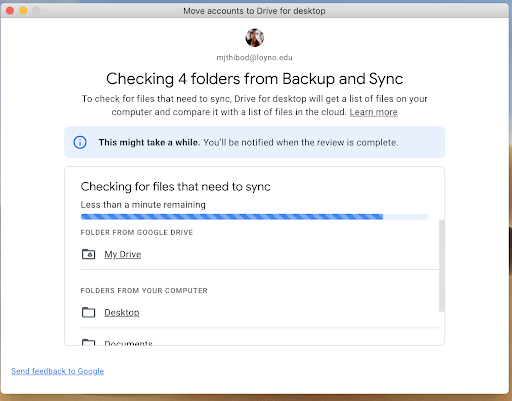
21. Google Drive will inform you that the scan has finished. Click "Review Settings" to proceed.
22. The "Mirror My Drive Files" window explains how Google Drive will store your files. Click "Got it" to continue.

23. Google Drive will explain your Folder Options. It is recommended to keep all settings as suggested by Google Drive. Click "Next" to proceed.
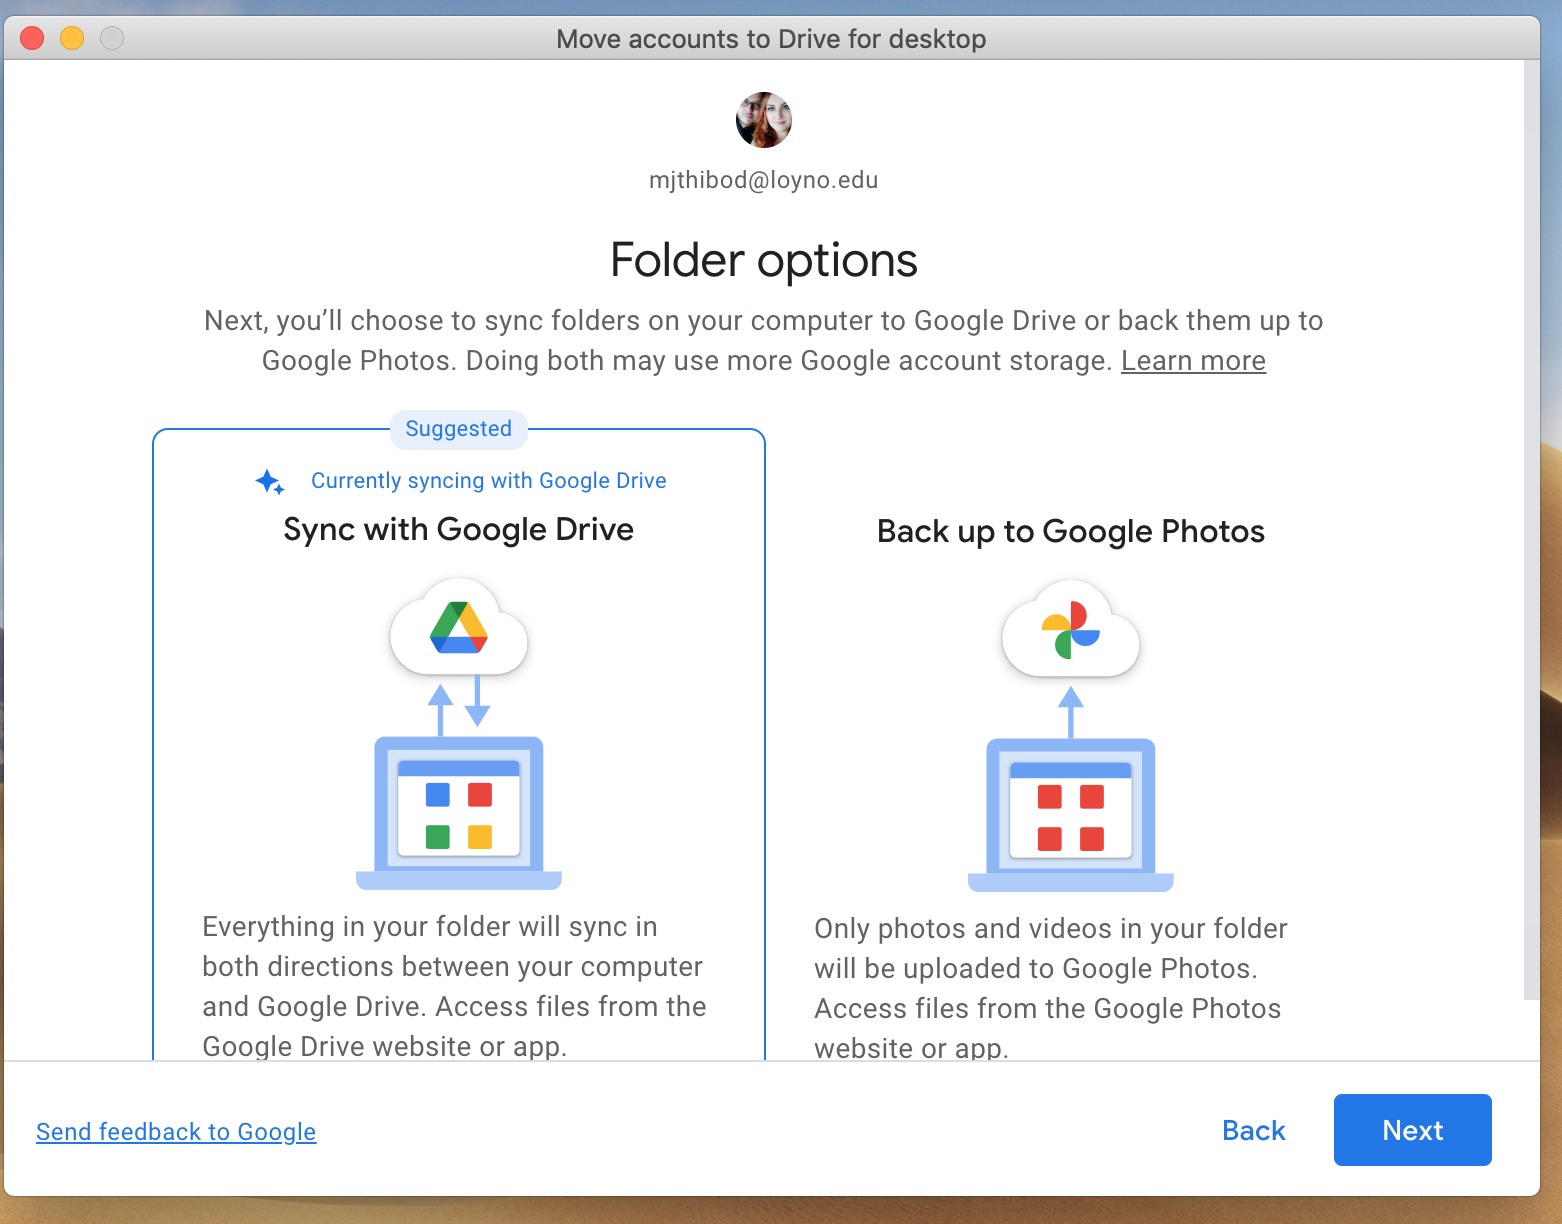
24. You will be prompted to "Sync with Drive only"? Click "Sync with Drive" to continue.

25. When Google Drive is currently configured, click "Save".

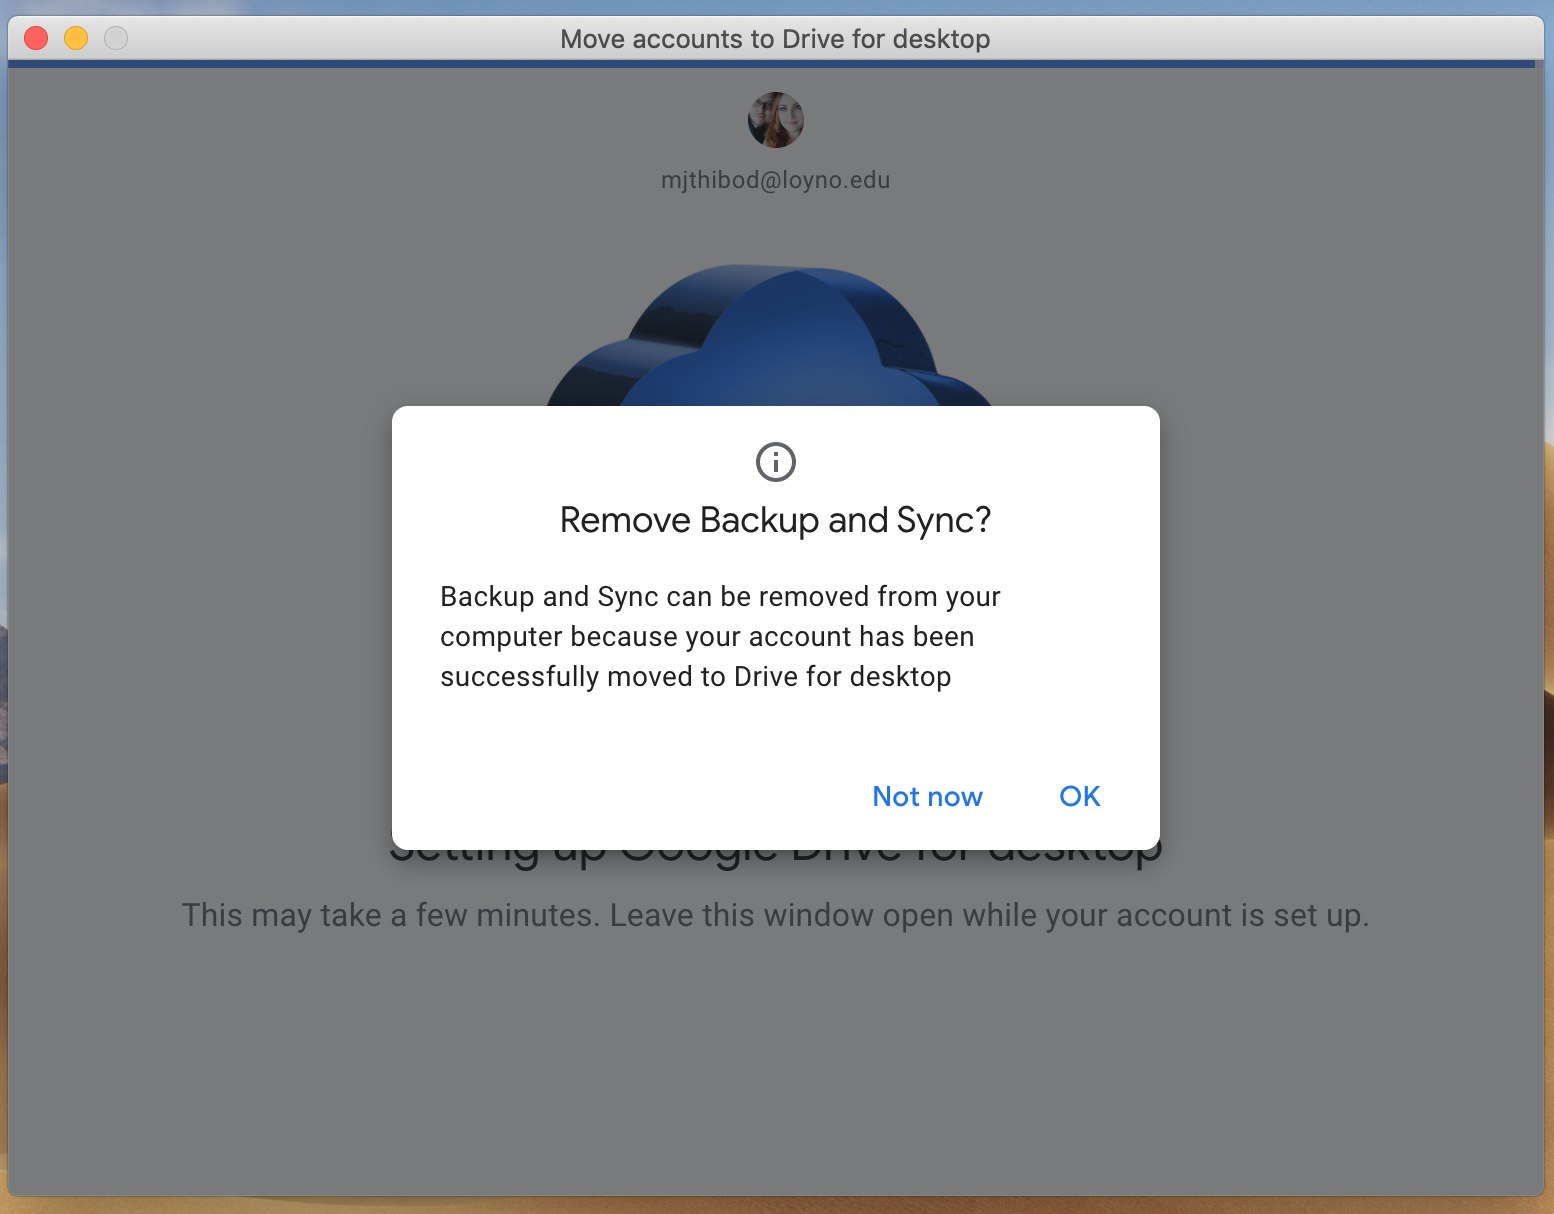
26. You will be prompted to "Remove Backup and Sync?". Click "OK" to continue.
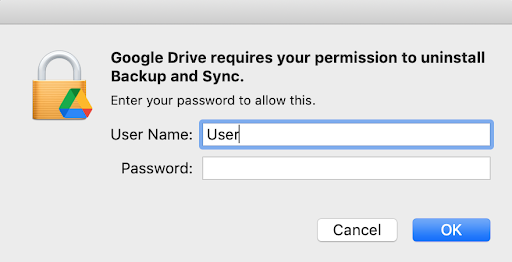
27. Google Drive will prompt you to uninstall "Backup and Sync". Authenticate using your administrator password.
28. After "Google Backup and Sync" has been uninstalled, you have reached the last step in the setup process. "You're ready to use Google Drive for destop" so click "Open Drive for Desktop", to complete the process. This will close the window.
